8 Roof Penetration Problems Guilford Homeowners Should Check Before Winter
Every pipe, vent, skylight, or exhaust outlet interrupts the roof’s water-shedding surface. These components remain reliable while flashing, seals, fasteners, and surrounding roofing stay intact. Once one part cracks or moves, water may reach decking through a small opening. Cooler weather can expose weaknesses as materials contract and storms become more wind-driven.
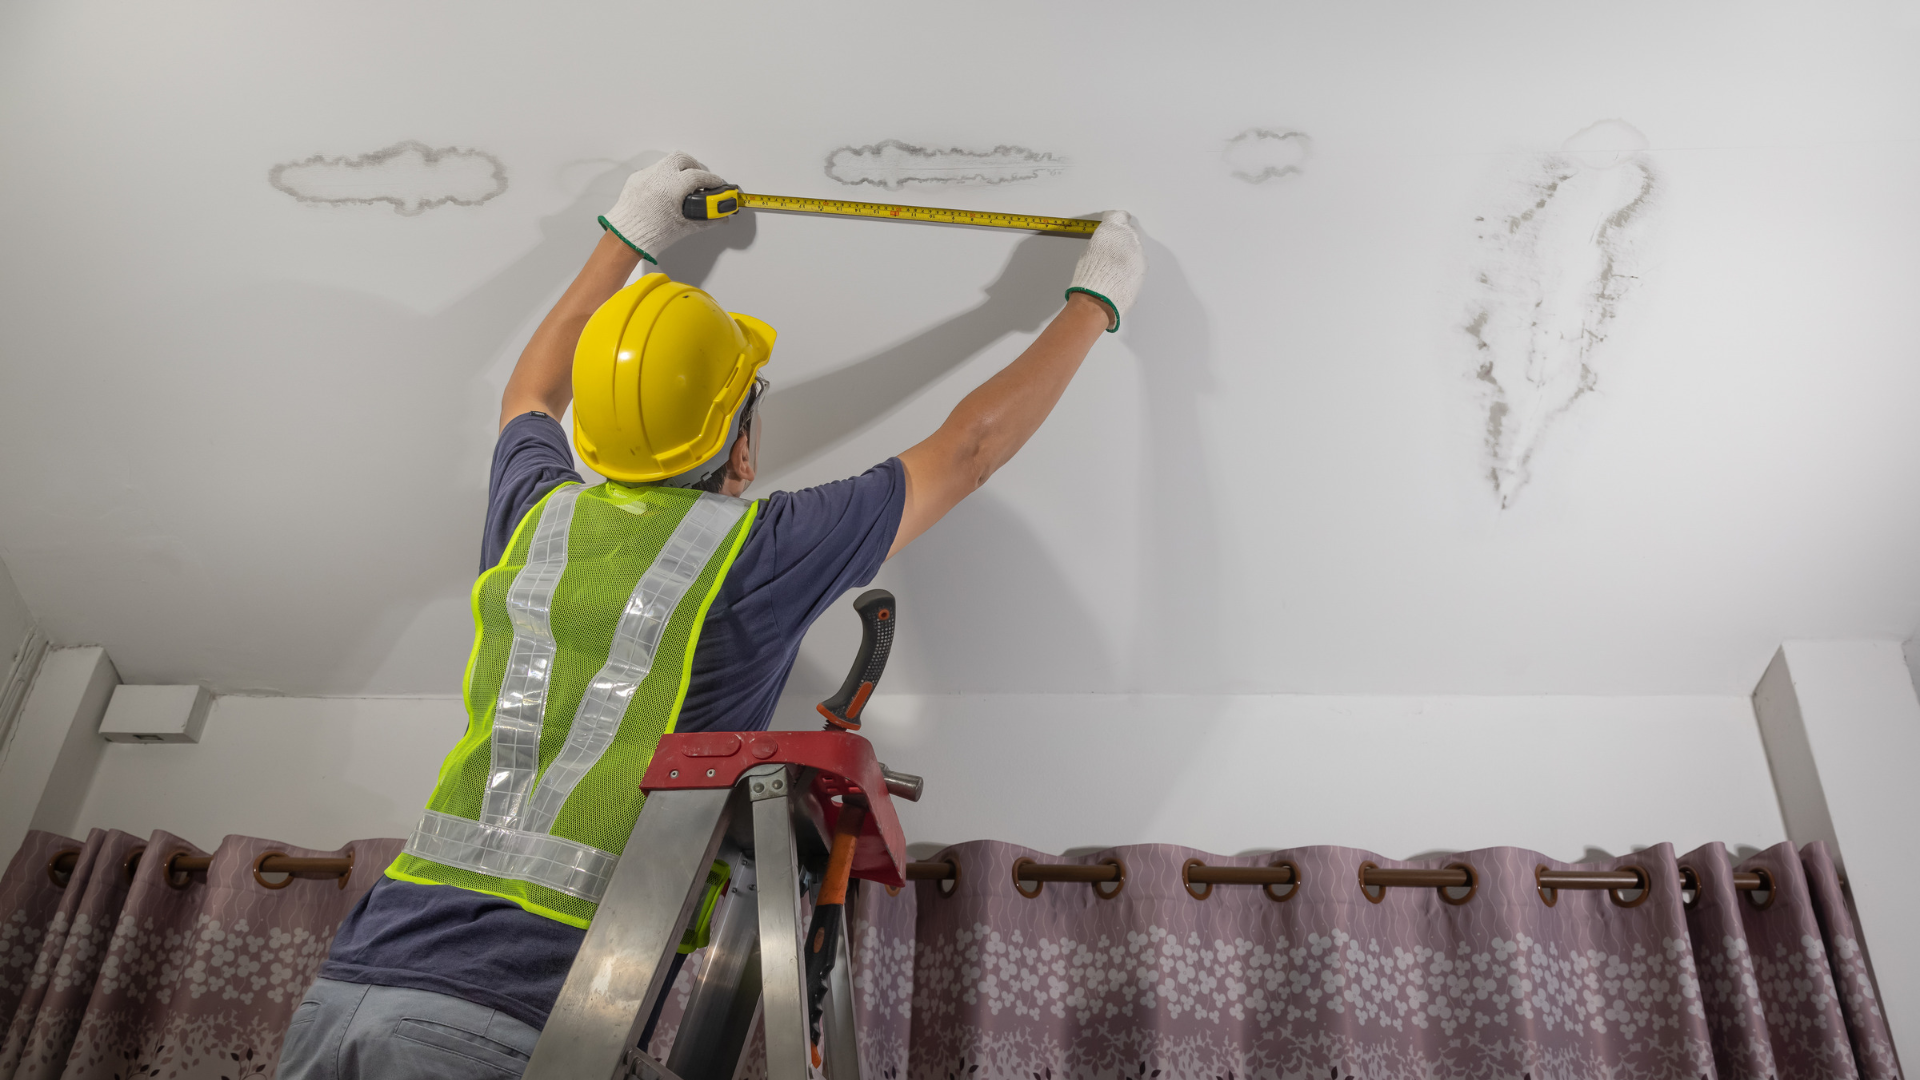
For homeowners researching a roof vent leak in Guilford, CT, an interior stain rarely identifies the component. Water can travel along a pipe, rafter, deck, or insulation before appearing. This guide covers eight problems and when to maintain, repair, or investigate further. It also applies to Madison, Branford, North Branford, and Clinton.
Why Roof Penetrations Need More Than a Quick Visual Check
Penetrations combine multiple materials and installation layers in a small area. A plumbing stack may use a rubber boot, metal or plastic flange, underlayment, shingles, fasteners, and sealant, each with a different service life and response to temperature. The Department of Energy’s Building America guidance recommends inspecting and properly integrating flashing and sealing around vents, chimneys, skylights, and other roof openings. A reliable repair restores that continuous water-control layer rather than covering the exposed edge alone.
Roof Repair Pro’s Guilford roof leak service specifically includes vent boots, pipe collars, skylights, chimneys, flashing, and other penetrations in the inspection. We compare roof conditions with the interior staining pattern and use photos to explain what failed. This matters because a penetration can look suspicious without being the source, while a concealed split on the uphill side may be leaking despite an ordinary appearance from below. Homeowners should avoid walking the roof and use ground-level observations only until safe professional access is available.
| Penetration | Typical water-control detail | Common vulnerable point |
|---|---|---|
| Plumbing vent pipe | Boot or collar with shingle-integrated flange | Rubber opening around the pipe |
| Box or exhaust vent | Flanged housing woven into shingles | Corners, fasteners, and cracked housing |
| Skylight | Head, sill, and step flashing | Uphill flashing and sidewall laps |
| Chimney | Step, counter, apron, and back-pan flashing | Masonry joint and concealed overlaps |
Problems 1 and 2: Cracked Pipe Boots and Gaps Around Vent Stacks
Problem 1 is a cracked or hardened pipe boot. Rubber components receive ultraviolet exposure, heat, cold, and repeated movement around a rigid vent stack. Over time, the opening can split or pull away from the pipe, creating a direct route for rain. The GAF overview of roof flashing identifies rubber boots as a common way to seal vent pipes and emphasizes flashing at roof penetrations for leak prevention.
Problem 2 is a gap caused by pipe movement or an incorrect collar size. A boot may still look flexible while fitting loosely around a tilted, undersized, or moving pipe. Wind, building movement, or work inside the home can shift the stack enough to stress the seal. A proper vent boot repair checks the pipe position, collar fit, flange, fasteners, surrounding shingles, and decking rather than replacing the visible rubber ring without investigating why it separated.
Look for these warning signs from a safe location:
- A visible split where rubber meets the pipe
- A collar that has folded inward or pulled away on one side
- Rust or staining below the pipe in the attic
- Ceiling marks that worsen during rain rather than during plumbing use
- A vent stack that appears tilted or moves noticeably
- Old sealant packed around the boot opening
Problems 3 and 4: Loose Flanges and Improperly Integrated Shingles
Problem 3 is a flange that has lifted, cracked, or lost secure fastening. The broad base of a pipe boot or roof vent must direct water onto the roofing below while remaining covered by the roofing above. If a corner lifts or a fastener backs out, wind-driven rain may enter beneath the assembly. Exposed nails and incompatible patching can add more openings at exactly the place the flange is supposed to protect.
Problem 4 is incorrect shingle integration around the penetration. A flange installed entirely on top of shingles, cut too tightly, or patched after an earlier repair may not follow the intended shingle-style drainage sequence. The GAF pipe-flashing guidance warns that inappropriate sealant use can trap water beneath shingles and the boot. Correct repair may require lifting a limited shingle area and reinstalling or replacing the penetration flashing so water naturally drains over it.
The inspection should answer:
- Is the upper flange covered by roofing and the lower flange able to drain?
- Are flange corners flat, intact, and properly secured?
- Do fasteners sit in approved locations and remain sealed?
- Has roof cement blocked a drainage path?
- Are surrounding shingles cracked, lifted, or cut excessively?
- Does the underlayment show evidence of repeated wetting?
Problems 5 and 6: Failed Fasteners and Cracked Vent Housings
Problem 5 is an exposed, backed-out, rusted, or misplaced fastener. Even a small nail or screw opening can admit water when it sits upslope of the penetration or outside a protected lap. A fastener may also lose holding strength if the decking beneath it has softened. Replacing or sealing one fastener without checking nearby material can leave the actual reason for movement unresolved.
Problem 6 is a cracked or damaged vent housing. Plastic box vents, metal exhaust caps, and other manufactured penetrations can split, corrode, deform, or separate at seams. Wind-blown debris and previous foot traffic may damage the housing while the surrounding shingles remain intact. The repair decision depends on whether the housing itself is replaceable, whether its flange can be integrated correctly, and whether the connected duct or vent remains properly attached.
| Finding | Likely concern | Next diagnostic step |
|---|---|---|
| Nail head above a flange | Direct fastener leak | Check approved fastening layout and decking grip |
| Raised fastener with soft roof surface | Possible wet decking | Probe safely and inspect from attic where accessible |
| Split plastic vent corner | Housing failure | Inspect flange, interior duct, and surrounding shingles |
| Rusted metal seam | Corrosion or open joint | Determine whether localized repair or replacement is viable |
Problems 7 and 8: Failed Surface Patches and Abandoned Penetrations
Problem 7 is a surface patch that has become the primary waterproofing. Roof cement and exposed sealant may crack, release at the edge, or conceal a flange that was never integrated correctly. A neat-looking patch can still hold water on its uphill side or separate beneath the visible surface. Sealant should support a correctly layered detail, not replace the flashing, flange, fasteners, and roofing around it.
Problem 8 is an abandoned, altered, or poorly converted penetration. Old satellite mounts, removed vents, unused pipes, relocated exhausts, and previous mechanical work can leave fastener holes or patched openings in the deck. The cover may blend into the roof while lacking proper sheathing support, underlayment, or shingle integration. Before winter, these forgotten areas deserve attention because the source of an unexplained stain may be an old penetration rather than the active vent nearest to it.
Ask for closer evaluation when you see:
- Multiple layers of roof cement around one vent
- Sealant cracked into a ring around the pipe
- A capped pipe that no longer serves an obvious function
- Mismatched shingles in a small square or rectangular patch
- Old mounting brackets or exposed screw holes
- Interior staining that does not align with an active penetration
Do Not Confuse a Roof Penetration Leak With Condensation
Moisture around a vent pipe can come from roof leakage, plumbing condensation, bath or kitchen exhaust, attic humidity, or a disconnected duct. A rain-related stain points toward the exterior, but timing alone is not conclusive because water may remain hidden before it becomes visible. Condensation can be worse during cold weather when warm, moist air contacts a cold pipe or roof surface. An interior inspection should therefore be part of the diagnosis whenever the attic or ceiling cavity is safely accessible.
A roof-side failure may show damp decking, water tracks beneath a flange, rusty fasteners, or staining that grows after storms. Condensation may appear more evenly on a cold pipe, occur without rain, or connect to ventilation and insulation conditions. Roof Repair Pro traces the moisture path before recommending a pipe collar replacement or other repair. That protects the homeowner from paying for an exterior repair when the source is mechanical or from dismissing a real roof leak as harmless condensation.
What a Complete Roof Penetration Inspection Should Document
A useful inspection starts inside with the stain location, timing, shape, and relation to roof openings above. On the roof, the inspector should evaluate the boot or housing, flange, fasteners, shingle integration, sealant, surrounding roofing, and accessible decking. Photos should show both the failed detail and nearby areas that remain sound. This creates a record of why the repair is localized or why the investigation must expand.
The IBHS metal flashing guide explains that flashing directs water away from penetrations and that thermal movement can affect fasteners and joints. A complete inspection should therefore look beyond a single rubber crack and consider movement, material compatibility, corrosion, and drainage. It should also identify safe repair conditions, since wet, frosted, or icy roofs may require temporary leak control before permanent work. The written scope should state which components will be removed, replaced, resealed, or monitored.
| Inspection item | What should be documented | Why it matters |
|---|---|---|
| Interior moisture pattern | Stain location, timing, and moisture path | Helps narrow the roof area and rule out other sources |
| Boot or vent housing | Cracks, fit, movement, and material condition | Determines whether the component can remain |
| Flange and shingles | Laps, fasteners, cuts, and drainage direction | Confirms whether the assembly sheds water correctly |
| Decking and underlayment | Softness, staining, and extent | Changes repair size and fastening reliability |
| Connected pipe or duct | Alignment, support, and condensation clues | Separates roof leakage from mechanical moisture |
A Decision Framework for Maintenance, Targeted Repair, or Wider Investigation
Begin with evidence of active water entry. A dry, correctly layered penetration with a minor serviceable joint may only need maintenance, while a split boot, open flange, cracked housing, or wet decking requires repair. Next, decide whether the failure is limited to one component or connected to nearby shingles, underlayment, fasteners, or an abandoned opening. Finally, compare the condition with the rest of the roof without assuming a local leak requires full replacement.
Use this framework before authorizing work:
- Monitor when the assembly is dry, secure, correctly integrated, and the interior stain is confirmed inactive.
- Maintain when a compatible exposed joint has aged but the flange, housing, and roofing remain sound.
- Replace the boot or collar when rubber is split, hardened, loose, or incorrectly sized.
- Rebuild the local flashing detail when the flange or shingles do not follow the drainage sequence.
- Replace the vent housing when the manufactured component is cracked, corroded, or deformed.
- Expand the opening when decking is soft, underlayment is wet, or an abandoned penetration was patched improperly.
- Investigate another source when condensation, ducting, plumbing, chimney, or skylight evidence better explains the moisture.
Estimated 2026 Market Context
On its Guilford leak-repair page, Roof Repair Pro publishes approximate tiers of $400 to $600 for small roof repairs, $800 to $1,300 for larger repairs, and $300 per hour plus materials for work outside those tiers. A straightforward vent boot or localized shingle issue may remain in the smaller tier, while wet decking, difficult access, multiple penetrations, or surrounding roofing damage can increase the scope. The company provides a written estimate after inspection. These are Roof Repair Pro’s published figures, not a price that can be assigned without seeing the roof.
The main cost variables include:
- Penetration type and replacement component
- Roof pitch, height, access, and safety setup
- Number of shingles that must be lifted or replaced
- Flange, fastener, underlayment, and decking condition
- Multiple or abandoned openings in the same area
- Need for temporary stabilization before permanent repair
Fix the Failed Penetration Before Water Spreads
Roof penetrations are designed to stay watertight only when the boot, flange, fasteners, surrounding shingles, and interior connection continue working together. Roof Repair Pro diagnoses a roof vent leak in Guilford, CT by tracing moisture from the interior to the actual roof opening and documenting the repair area. We handle pipe boots, pipe collars, vent flashing, localized shingles, and related decking repairs with a repair-first approach. Our team serves Guilford, Madison, Branford, North Branford, and Clinton under Connecticut Home Improvement Contractor license HIC #0706616.
If a ceiling stain appears near a vent, a boot looks split, or old patching surrounds a roof opening, schedule an inspection before colder conditions make diagnosis and repair more difficult. Call Roof Repair Pro at (475) 800-8876 or use our contact page to request a free inspection. We will explain whether the issue needs maintenance, a component replacement, or a wider local repair. You will receive photos and a written quote before work begins.
Related Services & Pages
Roof Leak Repair in Guilford, CT