Why Skylight Leaks Become More Noticeable During Repeated Winter Rain in Guilford
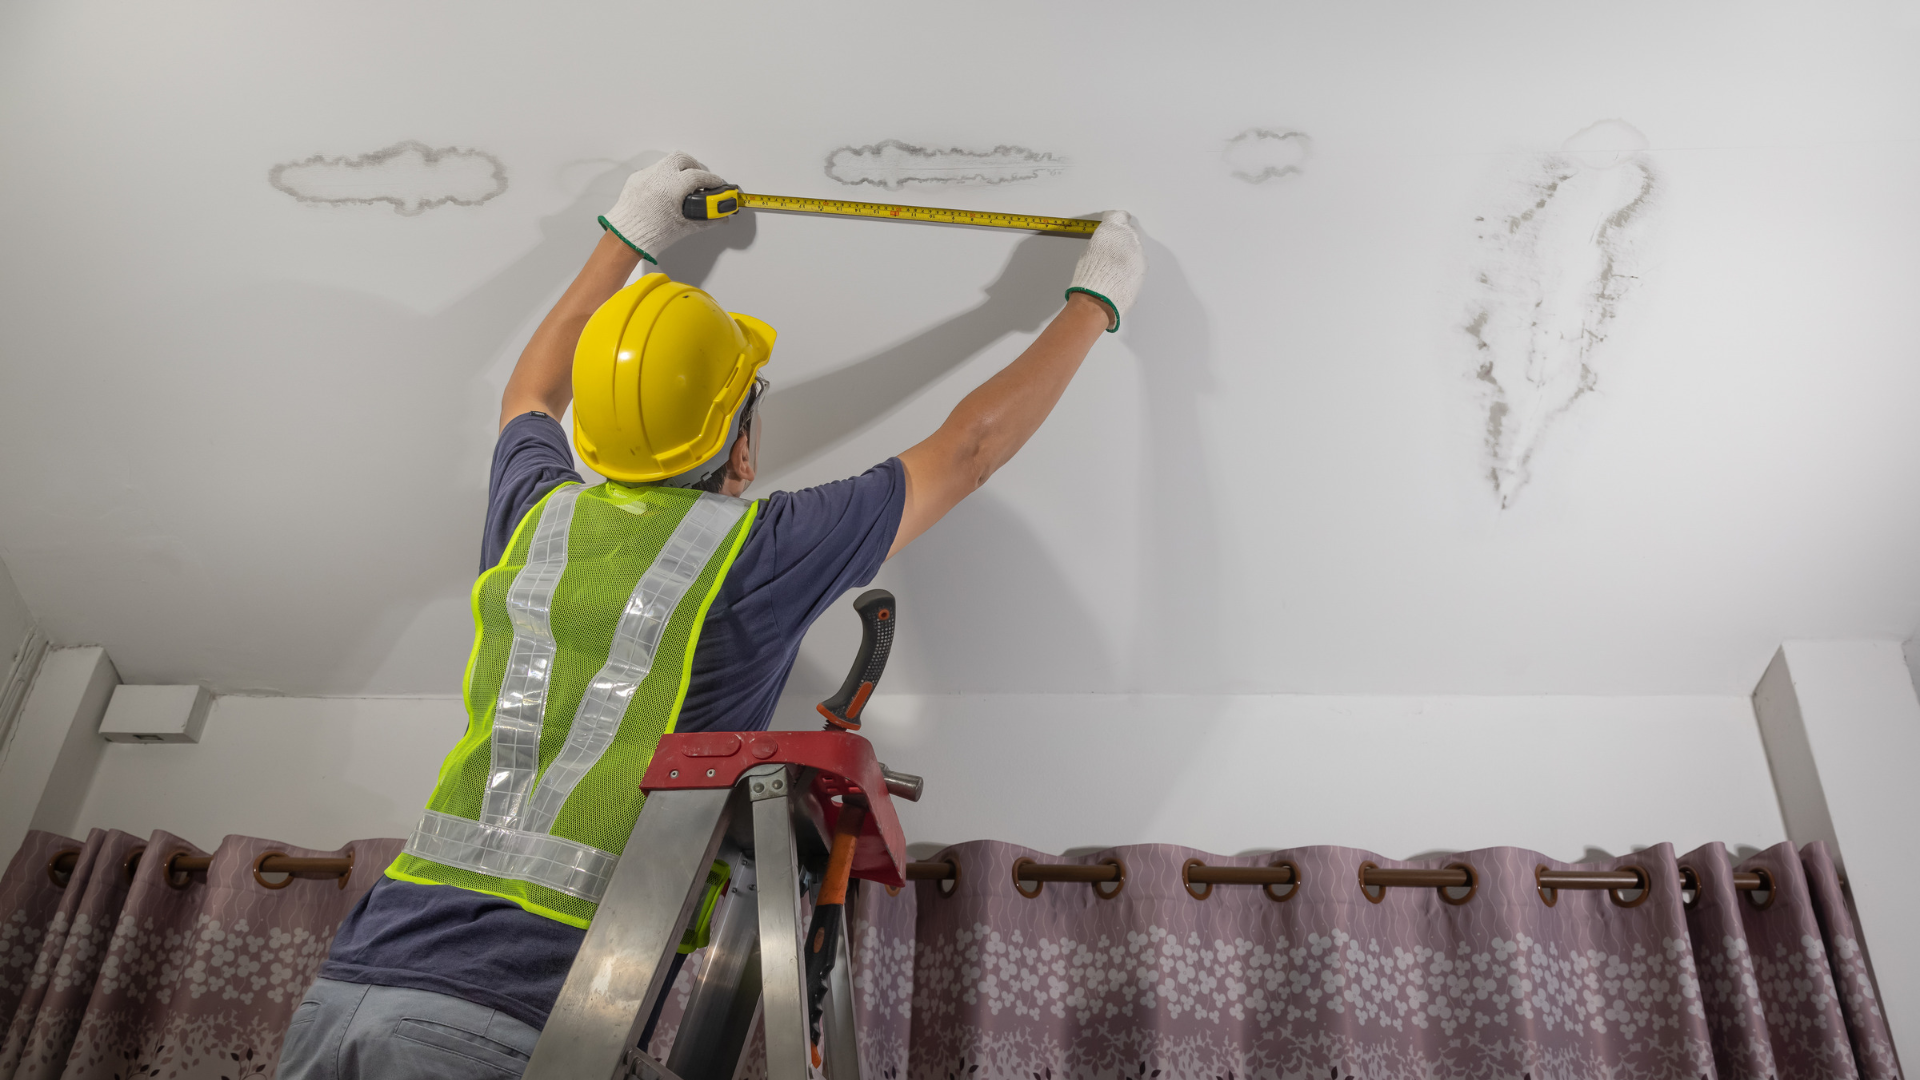
A skylight leak may not drip during every storm. A brief shower can pass before enough water reaches a small flashing gap, while repeated winter rain keeps the roof and surrounding materials wet for longer periods. The resulting moisture may appear around the skylight frame, at a corner of the light shaft, or on a ceiling below after the storm is well underway.
Effective skylight leak repair begins by identifying whether the source is roof flashing, surrounding shingles, underlayment, sealant details, the skylight unit, or interior condensation. These causes can create similar stains but require different corrections. Repeated wet weather provides clues because timing, wind direction, temperature, and the location of moisture show how the assembly is behaving.
Why Repeated Rain Makes an Intermittent Leak Easier to See
Skylights interrupt the roof’s continuous water-shedding surface. The opening depends on several layers that must direct water around the head, sides, and sill before returning it to the shingles below. A small gap can remain quiet during short rain because water drains past it quickly or surrounding materials temporarily absorb the moisture. Longer or repeated storms supply enough water for the hidden path to reach the interior.
Wet conditions between storms also reduce drying time. Underlayment, decking, insulation, and light-shaft materials may begin the next rain event with retained moisture, so a stain can appear sooner or spread farther. Wind can push rain against side or head flashing, while leaves or debris above the skylight can slow drainage and hold water near the opening. A leak that seems unpredictable often has a repeatable relationship to storm duration, direction, or prior saturation.
How the Skylight Assembly Is Supposed to Manage Water
A roof skylight needs more than a bead of sealant around the frame. A complete assembly may include a deck seal or curb gasket, adhesive underlayment, head flashing, side or step flashing, sill flashing, surrounding shingles, and the skylight frame and glazing seals. The components overlap so water moves around the opening and back onto the roof. The exact configuration depends on whether the unit is deck-mounted, curb-mounted, or installed with a manufacturer-specific flashing kit.
VELUX describes three layers of water protection for its systems: a deck seal or curb gasket, underlayment, and engineered flashing. That example shows why sealing the exposed edge alone may not correct a leak within the layered roof connection. Our Guilford skylight leak repair service evaluates the roofing, flashing, and unit before recommending focused roof-side work. We do not assume that every moisture mark requires replacing the entire skylight.
| Assembly component | Primary function | Possible failure symptom |
|---|---|---|
| Head flashing | Diverts upslope water around the top of the skylight | Staining or moisture begins near the upper corners |
| Side or step flashing | Integrates the skylight sides with shingle courses | Water appears along one side, often during directional rain |
| Sill flashing | Returns water onto the roof below the opening | Moisture appears at the lower frame or light shaft |
| Underlayment | Provides secondary protection around the rough opening | Repeated rain reaches decking after flashing is bypassed |
| Deck seal or curb gasket | Seals the unit to the deck or curb | Water reaches the connection between frame and mounting surface |
| Glazing and frame seals | Keep water out of the skylight unit itself | Moisture appears between panes or through the frame assembly |
Flashing, Seal, Unit, or Condensation
Water around a skylight does not identify the source by itself. Roof flashing can fail while the unit remains serviceable, or the roof connection can be sound while insulated glass or frame seals have deteriorated. Interior condensation can also collect on cold glass when humid indoor air reaches its dew point. ENERGY STAR’s guidance on windows, doors, and skylights explains that condensation forms when an interior surface is colder than the dew point of indoor air.
These clues can help organize the diagnosis:
- Leak follows rain but not indoor humidity: inspect roof flashing, shingles, underlayment, and the exterior unit.
- Leak appears mainly with wind from one direction: inspect the corresponding side flashing and upper corners.
- Water forms uniformly on the interior glass: check indoor humidity, air circulation, shaft insulation, and condensation conditions.
- Fog or moisture remains between glass panes: the insulated glass seal or unit may have failed.
- Cracked or shrinking exposed sealant is visible: determine whether it is a secondary joint or hiding a deeper flashing problem.
- Shingles are lifted or damaged beside the skylight: the leak may be entering through the surrounding roof rather than the frame.
- Decking or trim remains soft after dry weather: repeated leakage may already have damaged surrounding materials.
- Water appears during snowmelt or ice buildup: investigate backup at the roof surface in addition to the skylight assembly.
VELUX’s skylight warranty explanation distinguishes liquid water penetration from condensation caused by indoor humidity and temperature differences. That distinction is useful even for other brands because it prevents a roof repair from being prescribed for a moisture source inside the home. Conversely, calling every winter drip condensation can leave a genuine flashing leak untreated. We compare weather timing, moisture location, interior conditions, and exterior details before choosing a scope.
What Timing and Location Reveal About the Leak
Moisture appearing soon after rain starts may indicate a direct opening or wet materials that never dried from the previous storm. A leak that takes hours to appear can reflect a smaller entry point, a longer travel path, or materials absorbing water before it reaches the interior. Upper-corner staining often directs attention to the head or adjacent side flashing, while lower staining may come from sill details or water traveling within the shaft. These patterns narrow the inspection but do not replace exterior confirmation.
The room below also matters. Bathrooms, kitchens, humidifiers, drying laundry, and poor exhaust ventilation can increase condensation on cold skylight glass during winter. Rain-correlated dripping, exterior staining, wet decking, or moisture on one side of the shaft is more suggestive of water entry from outside. A combination is possible when a roof-side leak wets insulation and lowers surface temperatures around the opening. Our inspection considers both roof and interior evidence so one problem is not mistaken for the other.
What Homeowners Can Document Safely
Do not climb onto a wet, frosted, icy, or steep roof to inspect a skylight. Exterior work around an opening is especially hazardous because the glass, flashing, and surrounding shingles may be slippery or fragile. Use interior photos, ground-level views, and attic observations only where access and footing are safe. Keep away from wet wiring, sagging drywall, and unstable ceiling finishes.
Record the following:
- The date, time, and duration of rain before moisture appeared.
- Whether the storm involved wind and which side of the home received it.
- The exact location of the first drop or stain around the frame or shaft.
- Whether moisture is on the room-side glass, between panes, or outside the unit.
- Indoor humidity readings and recent use of baths, cooking appliances, or humidifiers.
- Changes in paint, drywall, trim, insulation, or accessible roof decking.
- Visible debris, lifted shingles, bent flashing, or cracked exterior sealant from the ground.
- Prior skylight repairs, roof replacement, or temporary roof-cement work.
Place a container under a safe drip and move furnishings away. Photograph the same location during rain, after the storm, and after a dry period to show whether moisture clears. Do not apply interior caulk around the frame as a diagnostic step because it can trap water or redirect it into concealed materials. Call promptly if water is active, electrical fixtures are affected, or drywall begins to swell or sag.
How We Diagnose and Repair a Skylight Leak
We first review the interior moisture pattern, light shaft, accessible attic area, and relationship between the stain and the roof opening. The exterior inspection covers head, side, and sill flashing; surrounding shingles; exposed fasteners; sealant details; underlayment edges where visible; and signs of localized decking damage. We also look for debris or drainage restrictions above the unit. The goal is to decide whether the water comes from the roof connection, the skylight unit, or interior conditions.
When the unit remains sound, focused roof-side work may restore the assembly without full skylight replacement. The repair can include replacing or rebuilding flashing, restoring surrounding shingles, correcting compatible sealant joints, repairing underlayment, or replacing localized decking. If the frame, glazing, insulated glass seal, curb, or unit has failed, replacement may be more appropriate than repeated patching. We explain where our roof-side scope ends and when a unit-specific replacement is needed.
| Confirmed condition | Likely next step | What should be included in the scope |
|---|---|---|
| Sound unit with localized flashing defect | Repair or replace failed flashing | Adjacent shingles, underlayment, laps, and drainage path |
| Failed exposed sealant at a valid joint | Remove failed material and apply compatible sealant | Surface preparation and confirmation that flashing remains sound |
| Damaged shingles beside the unit | Replace localized roofing and inspect the deck | Shingle integration with side and head flashing |
| Soft decking around the opening | Open the area and replace damaged substrate | New underlayment, flashing integration, and roof restoration |
| Fogging or moisture between panes | Evaluate skylight unit replacement | Glass, frame, model compatibility, and new flashing requirements |
| Interior condensation on room-side glass | Address humidity, airflow, insulation, or air sealing | Indoor moisture source and light-shaft conditions |
| Aging unit plus repeated repair history | Compare full replacement with another localized repair | Remaining service life, flashing kit, surrounding roofing, and warranty |
What Skylight Leak Repair May Cost
Roof Repair Pro does not publish one fixed skylight repair price because the source may be a small roof-side flashing defect, damaged surrounding shingles, wet decking, or failure of the unit itself. Our Guilford flashing repair page publishes approximately $350 to $1,200 for most flashing repairs. Our roof-leak repair pricing lists about $250 to $1,500 for most residential roof-leak repairs on the Connecticut Shoreline. These are our planning ranges for relevant roof-side work, not a guaranteed skylight quote.
Roof pitch, height, access, skylight size, flashing design, shingle availability, decking damage, prior patches, and whether the unit must be removed all affect the scope. A focused flashing repair cannot be priced the same as replacing a failed skylight and rebuilding the surrounding roof. We provide a written quote after inspection and explain whether the work is roof-side repair, unit replacement, or both. That distinction helps homeowners compare complete scopes instead of comparing only totals.
| Potential scope | Published planning context | Main variables |
|---|---|---|
| Typical flashing repair | About $350 to $1,200 | Flashing component, access, shingles, and decking |
| Typical residential roof-leak repair | About $250 to $1,500 | Source, roof type, pitch, access, and hidden damage |
| Focused sealant work at a valid joint | Usually evaluated within the repair quote | Preparation, compatibility, joint length, and surrounding condition |
| Localized decking and roof restoration | Written after opening or inspection | Damage area, sheathing, underlayment, shingles, and flashing |
| Skylight unit replacement | Project-specific quote | Unit, size, curb or deck mounting, flashing kit, and interior work |
A Decision Framework: Repair, Reflash, or Replace
The decision should be based on which component failed and whether the remaining assembly can provide dependable service. Replacing a sound skylight because of one flashing defect can add unnecessary cost, while repeatedly sealing a failed unit can prolong water damage. Roof age matters, but it should not decide the outcome by itself. Use the observed condition and repair history together.
- Maintain and monitor when the moisture is confirmed as interior condensation and the roof assembly is sound.
- Reseal a limited joint when the sealant is a legitimate part of the system and all underlying components remain correctly installed.
- Repair surrounding roofing when damaged shingles or underlayment create the entry path beside a serviceable skylight.
- Reflash the skylight when head, side, sill, or step flashing is failed, missing, corroded, or incorrectly integrated.
- Repair localized decking when water has weakened the substrate but the opening and unit remain suitable for restoration.
- Replace the skylight when the frame, glazing seal, curb, or unit has failed, or when age and repeated repairs make another patch poor value.
- Coordinate with reroofing when a broader roof replacement is already planned and removing the old unit would prevent reopening new roofing later.
- Act urgently when water reaches electrical components, ceiling material sags, or storm damage has exposed the opening.
Ask whether the proposal addresses roof-side flashing, the skylight unit, interior condensation, or a combination. It should identify what will be removed, which materials will be reused, how new flashing integrates with shingles and underlayment, and whether interior finish work is included. Before-and-after photos help verify details that will be covered when the roof is restored. A clear diagnosis also prevents humidity work from being sold as roof repair or roof cement from being sold as permanent reflashing.
Find the Source Before Repeated Rain Spreads the Damage
A recurring skylight stain is not a diagnosis by itself. We compare storm timing, wind direction, interior humidity, flashing details, surrounding shingles, underlayment, decking, and the condition of the unit. The correct scope may be a focused roof repair, complete reflashing, localized decking work, skylight replacement, or indoor moisture correction. You receive photographs and a written quote before approving roof-side work.
Roof Repair Pro serves Guilford as a repair-only roofing specialist based on the Connecticut Shoreline. Call (475) 800-8876 or schedule a free roof inspection if repeated winter rain is exposing moisture around your skylight. We will explain whether the source is the roofing system, the unit, condensation, or more than one condition. Early diagnosis can limit damage to decking, insulation, drywall, and interior finishes.
Related Services and Resources
Skylight leak repair in Guilford
Roof flashing repair in Guilford
Emergency roof repair in Guilford