How Wind-Driven Rain Finds Its Way Under Roof Flashing on Guilford Homes
A roof can remain dry during ordinary rainfall and leak when rain arrives with sustained wind. The difference is direction and pressure: water is no longer moving only down the roof by gravity, but is being pushed sideways and upward against joints that normally shed it. Small gaps in step flashing, counterflashing, kickout flashing, or surrounding shingles can become active entry points during a prolonged storm.
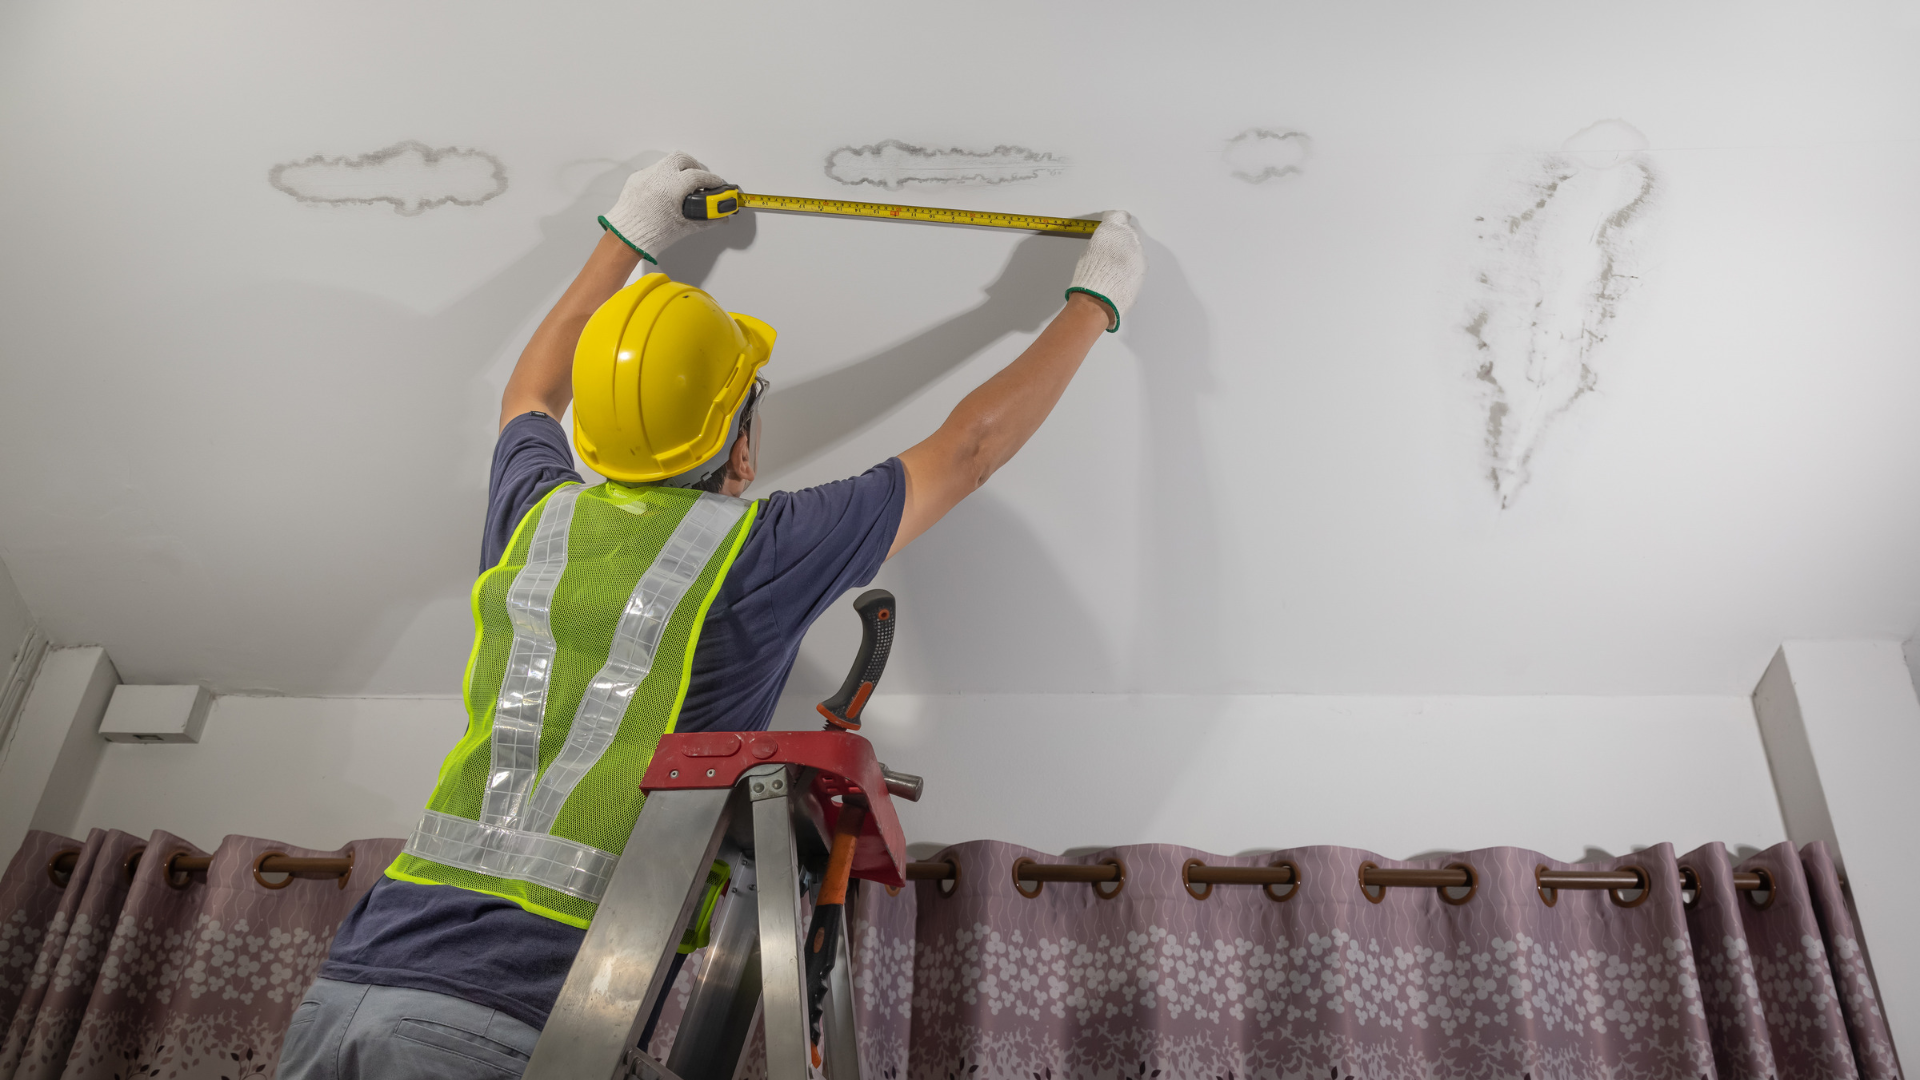
That pattern makes roof flashing leaks difficult to diagnose from the ceiling stain alone. Water can enter at a roof-to-wall transition, travel along decking or framing, and appear several feet from the failed detail. A lasting repair begins by tracing the route rather than sealing the first visible gap.
Why Wind-Driven Rain Exposes Hidden Flashing Weaknesses
Roofing is designed as a layered water-shedding system. Shingles, underlayment, flashing, wall drainage layers, and siding details overlap so water moves onto the roof surface and toward the gutter. During calm rain, gravity supports that intended direction, and a small opening may not receive enough water to leak visibly. Wind changes the angle of impact and can force water against laps, fastener holes, lifted metal edges, and roof-to-wall junctions.
Prolonged storms create an additional problem because the weak point receives water for hours instead of minutes. Materials around the opening can become wet before an interior drip appears, especially when water travels beneath shingles or behind siding. GAF’s steep-slope roofing field guide identifies step and sidewall flashing as details that help resist wind-driven rain when installed as a complete overlapping system. A leak that appears only during one wind direction is therefore valuable diagnostic evidence, not proof that the roof is otherwise sound.
How a Roof-to-Wall Flashing System Should Shed Water
Flashing does not work as one exposed strip covered with caulk. At a sloped roof-to-wall connection, individual pieces of step flashing are typically woven with the shingle courses, while the upper legs integrate with the wall’s water-control layer. Counterflashing or cladding details protect the top edge, and a kickout at the lower end directs concentrated runoff away from the wall. Each layer must overlap the one below it so water remains on the exterior.
Building Science Corporation’s residential water-management guidance explains that the wall drainage plane should lap over step flashing so water behind the cladding returns onto the shingles. If that connection is reversed, interrupted, or sealed only at the surface, water can enter behind the visible metal. Our Guilford flashing repair service examines the roofing and wall-side transition together. The table shows how each part contributes to the drainage path.
| Flashing component | Primary job | What happens when it fails |
|---|---|---|
| Step flashing | Weaves the roof-to-wall joint into each shingle course | Water enters behind shingles or beside a dormer or wall |
| Counterflashing | Covers and protects the upper flashing edge | Water reaches the back of base or step flashing |
| Kickout flashing | Diverts concentrated runoff away from the wall at the eave | Water runs behind siding or saturates the wall corner |
| Headwall flashing | Protects the horizontal transition where a roof terminates below a wall | Wind-driven rain reaches the sheathing or underlayment |
| Apron or base flashing | Carries water onto the roof surface at the front of a penetration | Water follows the penetration or joint into the roof assembly |
| Underlayment and leak barrier | Provides secondary protection beneath the roof covering | Water reaching the roof deck has fewer backup protections |
Common Failure Points During Prolonged Storms
Some flashing failures develop slowly through age and movement, while others begin with incorrect installation. Metal expands and contracts, sealants lose adhesion, fasteners loosen, shingles become brittle, and siding work can disturb a previously functioning transition. Wind-driven rain then reaches a weakness that calm rain rarely tests. The visible opening may be tiny even when the hidden wet area is larger.
Common failure points include:
- Missing or short step-flashing pieces that leave part of a roof-to-wall joint unprotected.
- Face-nailed flashing with exposed fastener holes in the water path.
- Loose counterflashing that has separated from masonry, siding, or a reglet joint.
- A missing or undersized kickout that allows water to continue behind siding at the lower wall corner.
- Reverse laps where an upper drainage layer directs water behind the flashing instead of over it.
- Cracked surface sealant that was being used as the primary barrier rather than a supporting detail.
- Lifted or damaged shingles beside the flashing that expose an otherwise covered edge.
- Debris buildup that slows runoff and holds water against a wall or dormer transition.
- Localized decking damage that prevents fasteners and flashing from holding securely.
Do not assume every dark line or aging sealant joint is the leak source. Several nearby components can produce similar interior staining, including a chimney, vent, skylight, valley, siding joint, or window above the roof. A repair should address the confirmed path, not coat every visible seam with roof cement. Surface patches can also make a later diagnosis harder by hiding the original assembly.
Why the Interior Stain May Be Far From the Leak
Water usually follows materials before it falls straight down. It can travel across underlayment, along the top or underside of roof decking, beside a rafter, through insulation, or down a wall cavity before reaching drywall. Roof pitch, framing direction, fastener penetrations, and the amount of water all influence where the first stain appears. This is why a stain at a room corner may originate higher along a dormer sidewall or roof-to-wall transition.
Repeated rain can enlarge the visible pattern because wet materials absorb additional moisture before releasing it indoors. A stain that appears late in the storm may indicate a slow path, while immediate dripping may point to a more direct opening or a high-volume drainage area. Our Guilford roof-leak repair process compares the interior evidence with the exterior roof layout. Timing, wind direction, and stain movement help us decide which transitions to open or test.
What Guilford Homeowners Can Check Safely
Stay on the ground during storms and avoid walking on a wet, icy, steep, or damaged roof. Binoculars, interior photos, attic observations from a safe platform, and notes about storm conditions can provide useful evidence without adding fall risk. Keep away from wet electrical fixtures, bulging ceilings, and unstable drywall. If water is entering near wiring or causing the ceiling to sag, shut off the affected circuit only if that can be done safely and contact appropriate emergency help.
Document these details:
- The time the moisture first appears after rain begins.
- The wind direction or side of the house receiving the strongest rain.
- Whether the leak happens in light rain, heavy rain, or only prolonged wind-driven rain.
- The stain’s distance from an exterior wall, chimney, dormer, or visible roof transition.
- Changes in stain size, color, bubbling paint, or active dripping.
- Attic moisture on accessible decking, rafters, nails, or insulation.
- Visible lifted shingles, bent metal, loose siding, or debris near the suspected area.
- Any recent roofing, siding, masonry, gutter, or exterior renovation work.
Place a container beneath a safe active drip and move valuables away from the area. Do not puncture a bulging ceiling unless an emergency professional directs you, because trapped water and damaged drywall can fall unexpectedly. Avoid climbing into a cramped attic with wet electrical equipment or uncertain footing. Call during the storm if water is actively entering so the repair can be prioritized when exterior conditions become safe.
How We Diagnose and Repair Roof Flashing Leaks
We begin indoors because the moisture pattern provides directional clues. On the roof, we inspect the transition above and upslope of that pattern, including flashing laps, shingles, fasteners, underlayment edges, siding clearance, masonry joints, and nearby penetrations. Photographs document both the suspected failure and surrounding conditions. When several defects are present, we identify which ones connect to the observed water path.
A proper repair restores the layered assembly. That may require lifting a limited shingle area, removing failed sealant or roof cement, replacing step flashing, reseating counterflashing, adding a kickout, repairing underlayment, replacing damaged shingles, or correcting localized decking. The goal is not to depend on an exposed bead of caulk to stop water indefinitely. We provide a written scope before work begins and explain which surrounding materials must be opened and restored.
| Inspection finding | Likely repair direction | What should be verified afterward |
|---|---|---|
| Loose but reusable counterflashing | Prepare the joint, reseat the metal, and use compatible sealant where required | Upper edge is secure and lower overlap remains open to drain |
| Missing or damaged step flashing | Open adjacent shingles and rebuild the step-flashing sequence | Each piece overlaps correctly with the shingle course |
| Missing kickout at wall termination | Add a correctly integrated diverter and restore siding or roofing details | Runoff clears the wall and enters the gutter or roof drainage path |
| Damaged surrounding shingles | Replace the localized shingle section and inspect underlayment | No exposed fasteners or reverse laps remain |
| Soft or deteriorated decking | Remove affected material and restore a sound fastening base | New flashing and shingles are secured to stable decking |
| Multiple temporary patches | Remove incompatible buildup and reconstruct the failed transition | The repair sheds water through layers rather than surface coating |
What Roof Flashing Repair May Cost
Our live Guilford roof flashing repair page states that most flashing repairs run approximately $350 to $1,200. Smaller pipe-collar and drip-edge repairs are generally toward the lower end, while chimney or multi-component transition repairs tend toward the higher end. Our broader roof-leak repair page publishes a typical residential range of $250 to $1,500 across the Connecticut Shoreline. These are Roof Repair Pro planning ranges, while your written quote is based on the inspected failure.
Access, roof pitch, flashing type, wall or masonry involvement, shingle matching, hidden decking damage, and the size of the area that must be opened can change the price. A narrow surface reseal is not comparable to rebuilding an incorrectly layered roof-to-wall transition. Compare estimates by materials, removal, flashing integration, surrounding roof restoration, cleanup, and documentation. We explain the scope before work begins so the number is tied to a specific repair rather than an unexplained allowance.
| Repair category | Our published planning range | Major scope factors |
|---|---|---|
| Typical flashing repair | About $350 to $1,200 | Component, access, surrounding roofing, and decking condition |
| Typical residential roof-leak repair | About $250 to $1,500 | Leak source, roof type, access, and hidden damage |
| Pipe collar or small drip-edge repair | Often toward the lower end of the flashing range | Material, height, pitch, and adjacent shingle condition |
| Chimney or complex wall transition | Often toward the higher end of the flashing range | Multiple flashing pieces, masonry, siding, and repair length |
| Work outside the typical range | Written after inspection | Extensive decking, long wall runs, several defects, or difficult access |
A Decision Framework for the Right Repair Scope
The best decision starts with the failed layer, not the size of the ceiling stain. A small stain can come from a direct opening at a critical transition, while a larger stain can result from slow travel across insulation. The repair scope should match the condition of the metal, adjacent roofing, underlayment, wall integration, and decking. Use this framework to evaluate the recommendation.
- Reseal only when the flashing remains correctly installed and secure, and a limited compatible sealant joint is the confirmed failure.
- Reset or rebed when reusable metal has moved but the underlying assembly remains sound.
- Replace localized flashing when metal is corroded, bent, missing, short, punctured, or incorrectly lapped.
- Rebuild the transition when step flashing, counterflashing, wall drainage, or kickout details do not work together.
- Repair surrounding roofing when shingles, underlayment, or fasteners contribute to the entry path.
- Replace damaged decking when the substrate is soft, delaminated, or unable to hold the repair securely.
- Escalate promptly when water is active, electrical fixtures are affected, the ceiling is bulging, or storm damage has exposed the roof.
Ask how the proposed repair restores drainage rather than merely covers the opening. The contractor should be able to identify the likely entry point, describe the overlapping layers, explain what must be removed, and show where water will travel after the work. Photos before and after the repair make that explanation easier to verify. A clear scope is especially important when earlier roof cement or siding changes have hidden the original detail.
Stop Wind-Driven Rain at the Failed Transition
A leak that appears only in a prolonged or directional storm is still a real roof failure. We use the interior pattern, storm timing, roof layout, and transition details to find the actual entry path. The repair may be a focused reseal, localized flashing replacement, surrounding shingle work, or reconstruction of an incorrectly layered roof-to-wall connection. You receive photographs and a written quote before deciding how to proceed.
Roof Repair Pro is a repair-only roofing specialist serving Guilford and the Connecticut Shoreline. Call (475) 800-8876 or schedule a free roof inspection if wind-driven rain is revealing a flashing leak in your home. We will explain what failed, what needs to be opened, and how the repair will restore the water-shedding path. Acting before the next prolonged storm can limit additional moisture damage.
Related Services and Resources
Roof flashing repair in Guilford
Chimney flashing repair in Guilford
Emergency roof repair in Guilford